Norco RPC 230 Case Review
As my previous Dell 1U server was too noisy for my home server installation. I invested in a case, a Norco RPC 230 model. This case is a 2U standard case for 19" rack. It supports micro-ATX motherboard and ATX power supply. These components are easy too find, so that makes it a very interesting case for a home server installation.
I ordered the case at Ri-Vier Automatisering, which is the Norco european distributor. I directly ordered it with the RL-26 rails for the rack and the ATX power supply that is provided by Ri-Vier. For the case, I also bought a micro-ATX Gigabyte G41M-Combo motherboard. I already had 4GB of DDR2 RAM and a Core 2 Duo processor from a previous configuration. I also took my old 120GB Samung SSD for this server. This would be largely sufficient for what I plan to run on this server.
The case has four 3.5" drive bays and one 5.25" drive bay. The air flow is provided with two 80mm fans on the front panel.
Package
I received the package very quickly from Ri-Vier. The case is packaged in double box and everything in the package is well ordered. The power supply was already in the box itself. Here is a picture of the content of the package:
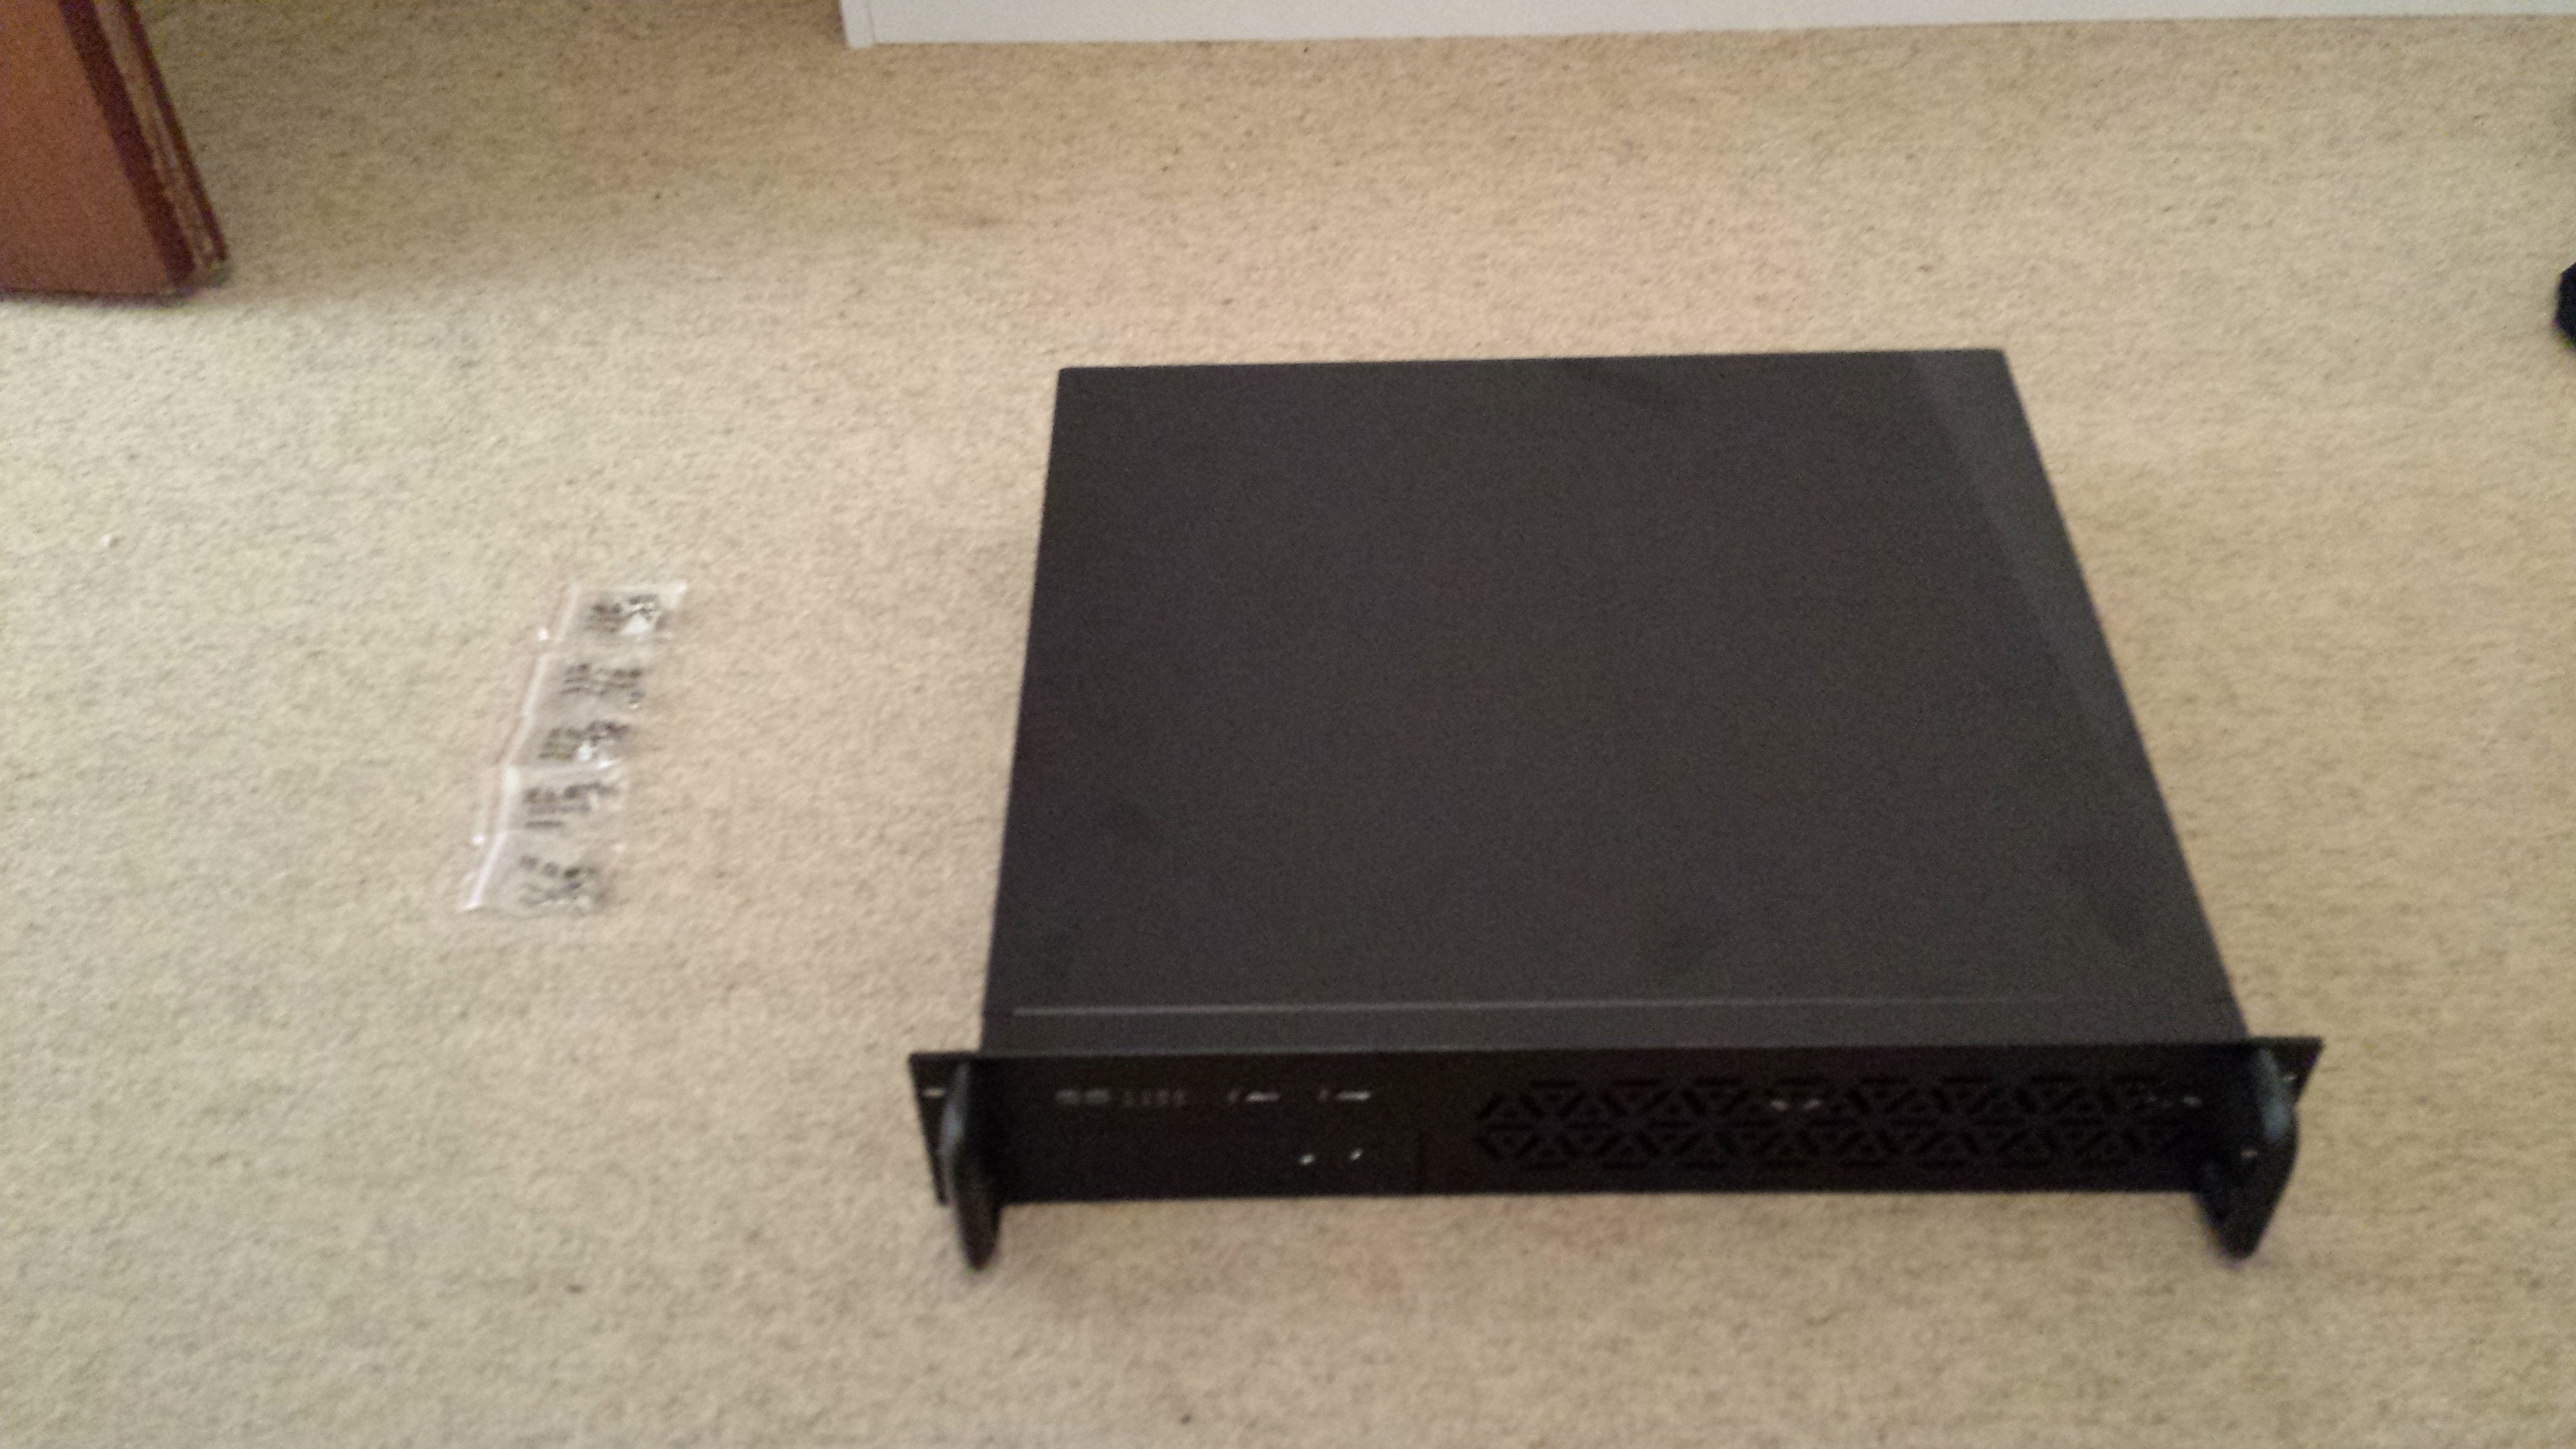
It contains only the case and the necessary screws. The rails are not on this picture, since I already had installed them in my rack. As you see, there are no manual, which may be a bit frustrating. Once you remove the top panel (4 screws to remove), you can see the inside of the case:
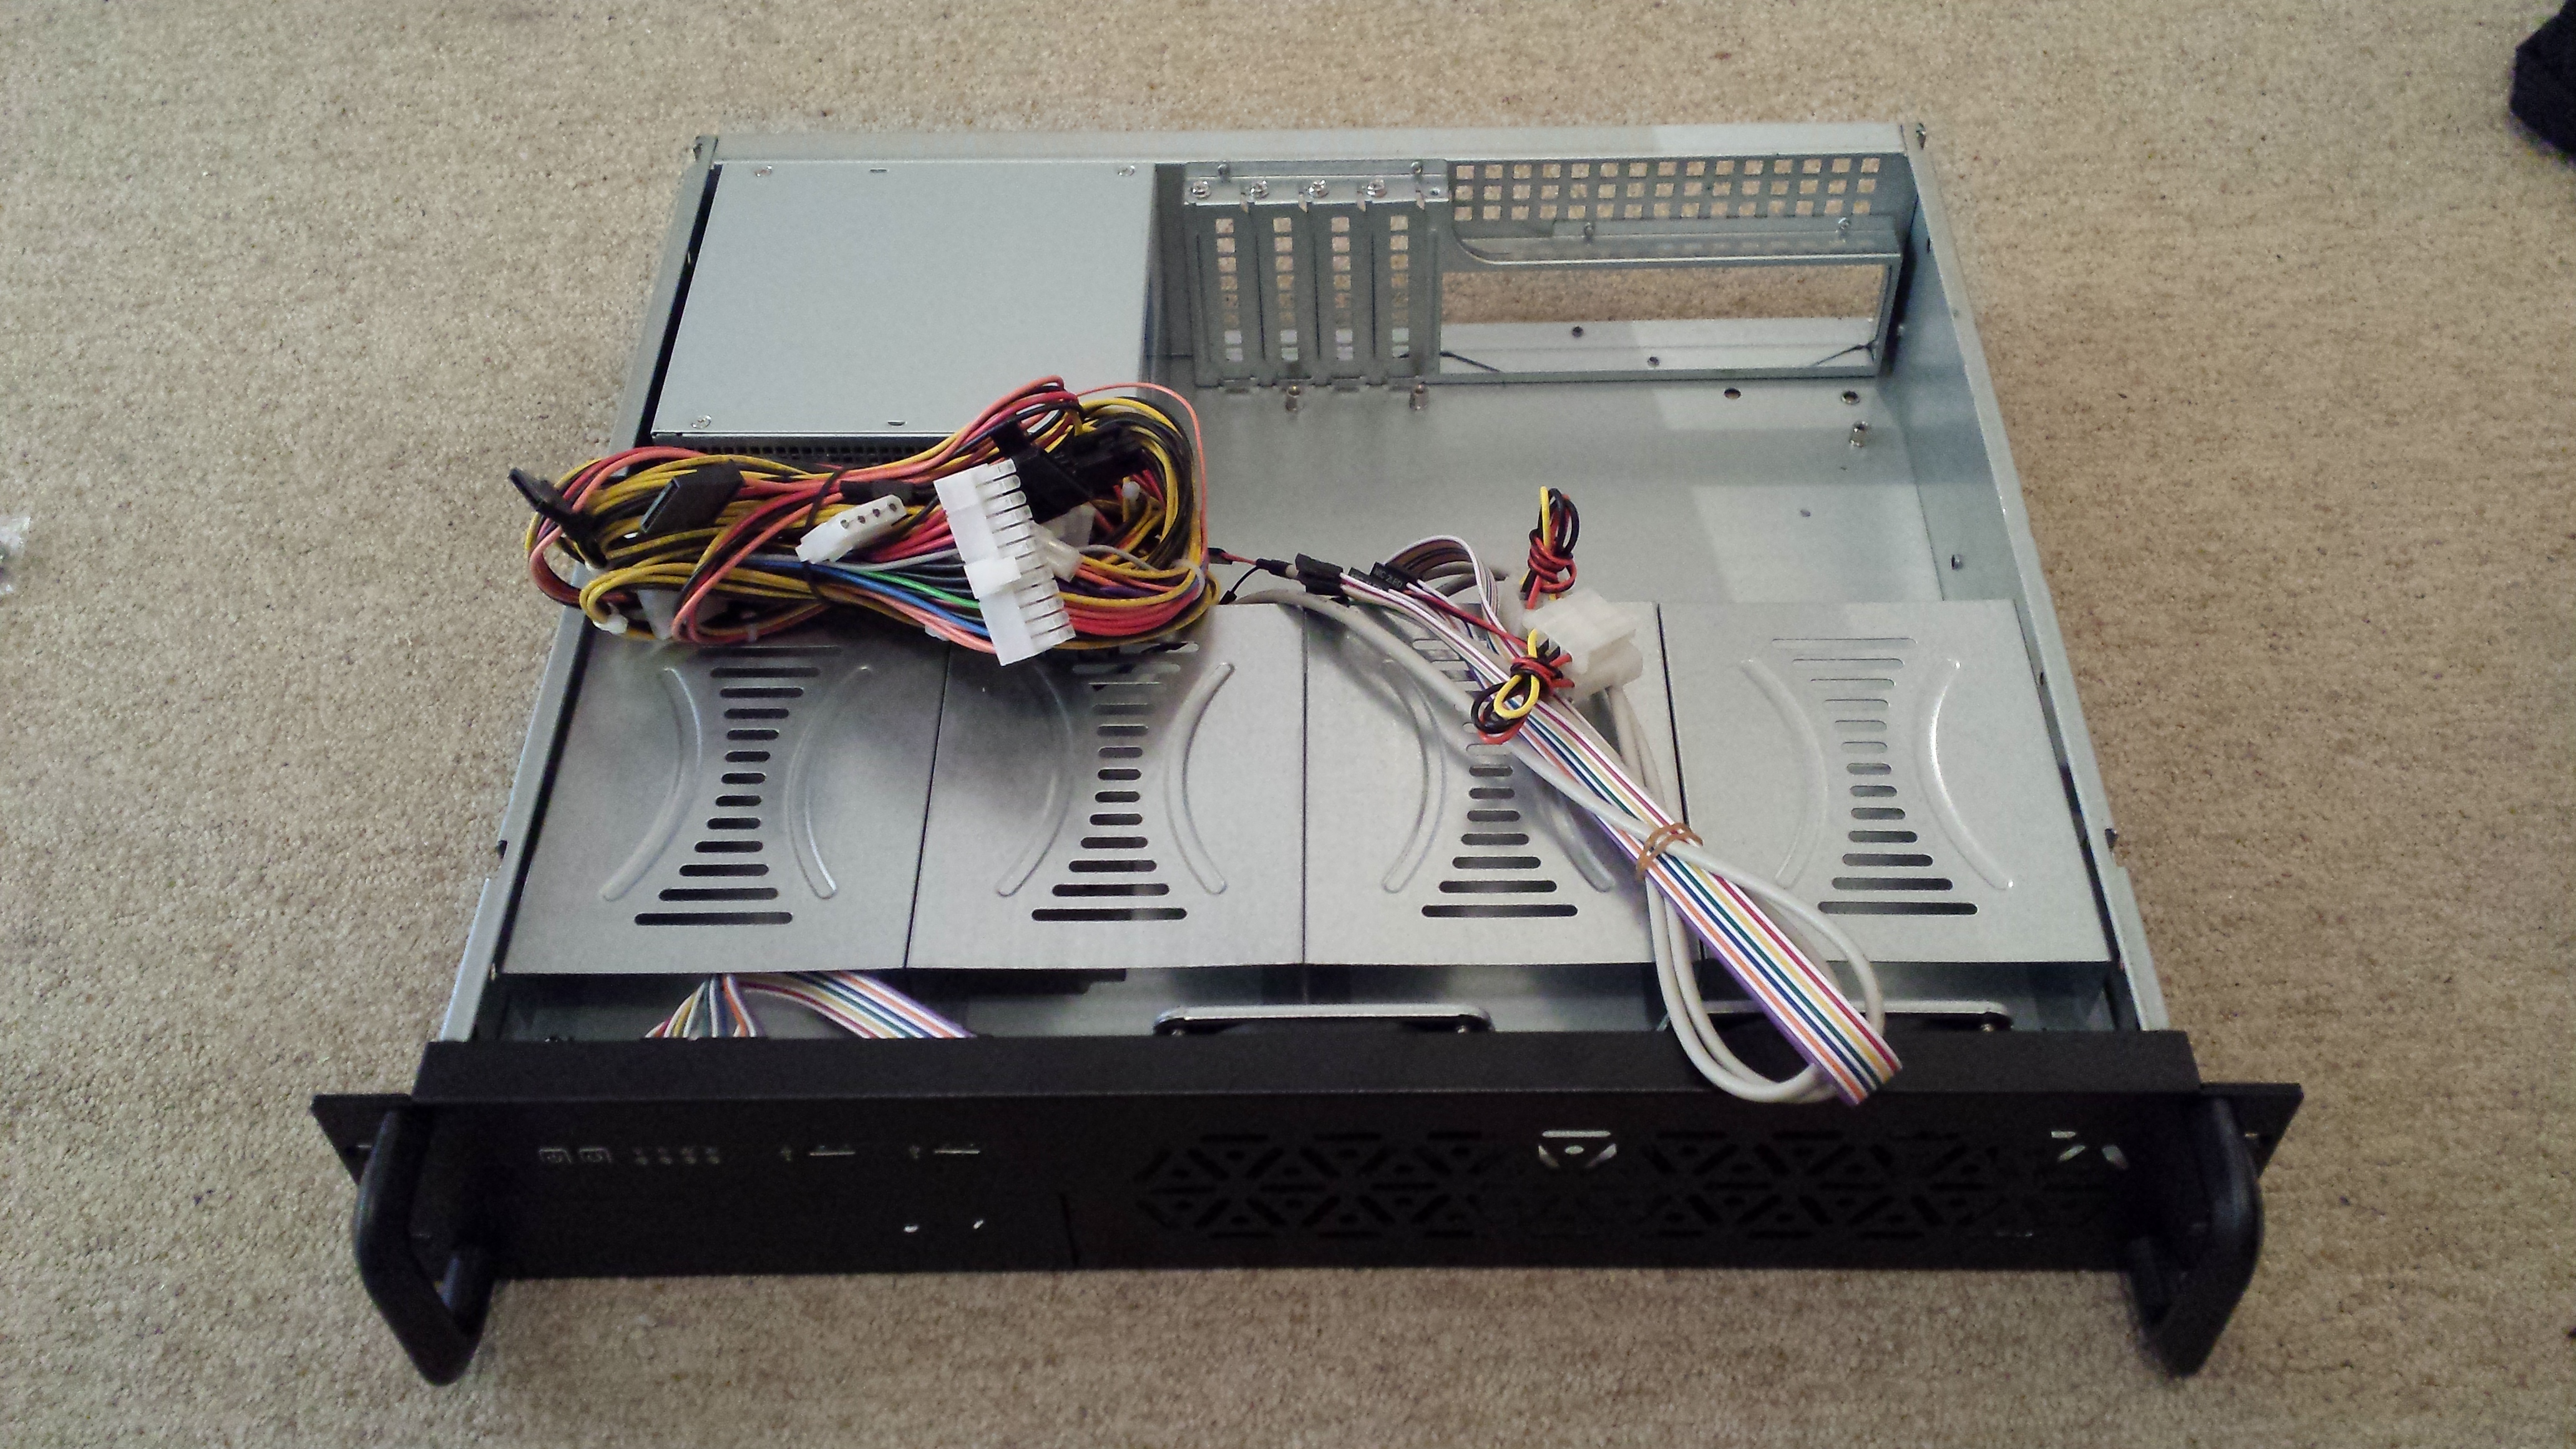
On the top are the four bays for the drives. They are removable. As you can see on the picture, the power supply has plenty of cables. I would have expected a power supply with less cables to come with this case as there is not much room.
Here is a view of the front panel:
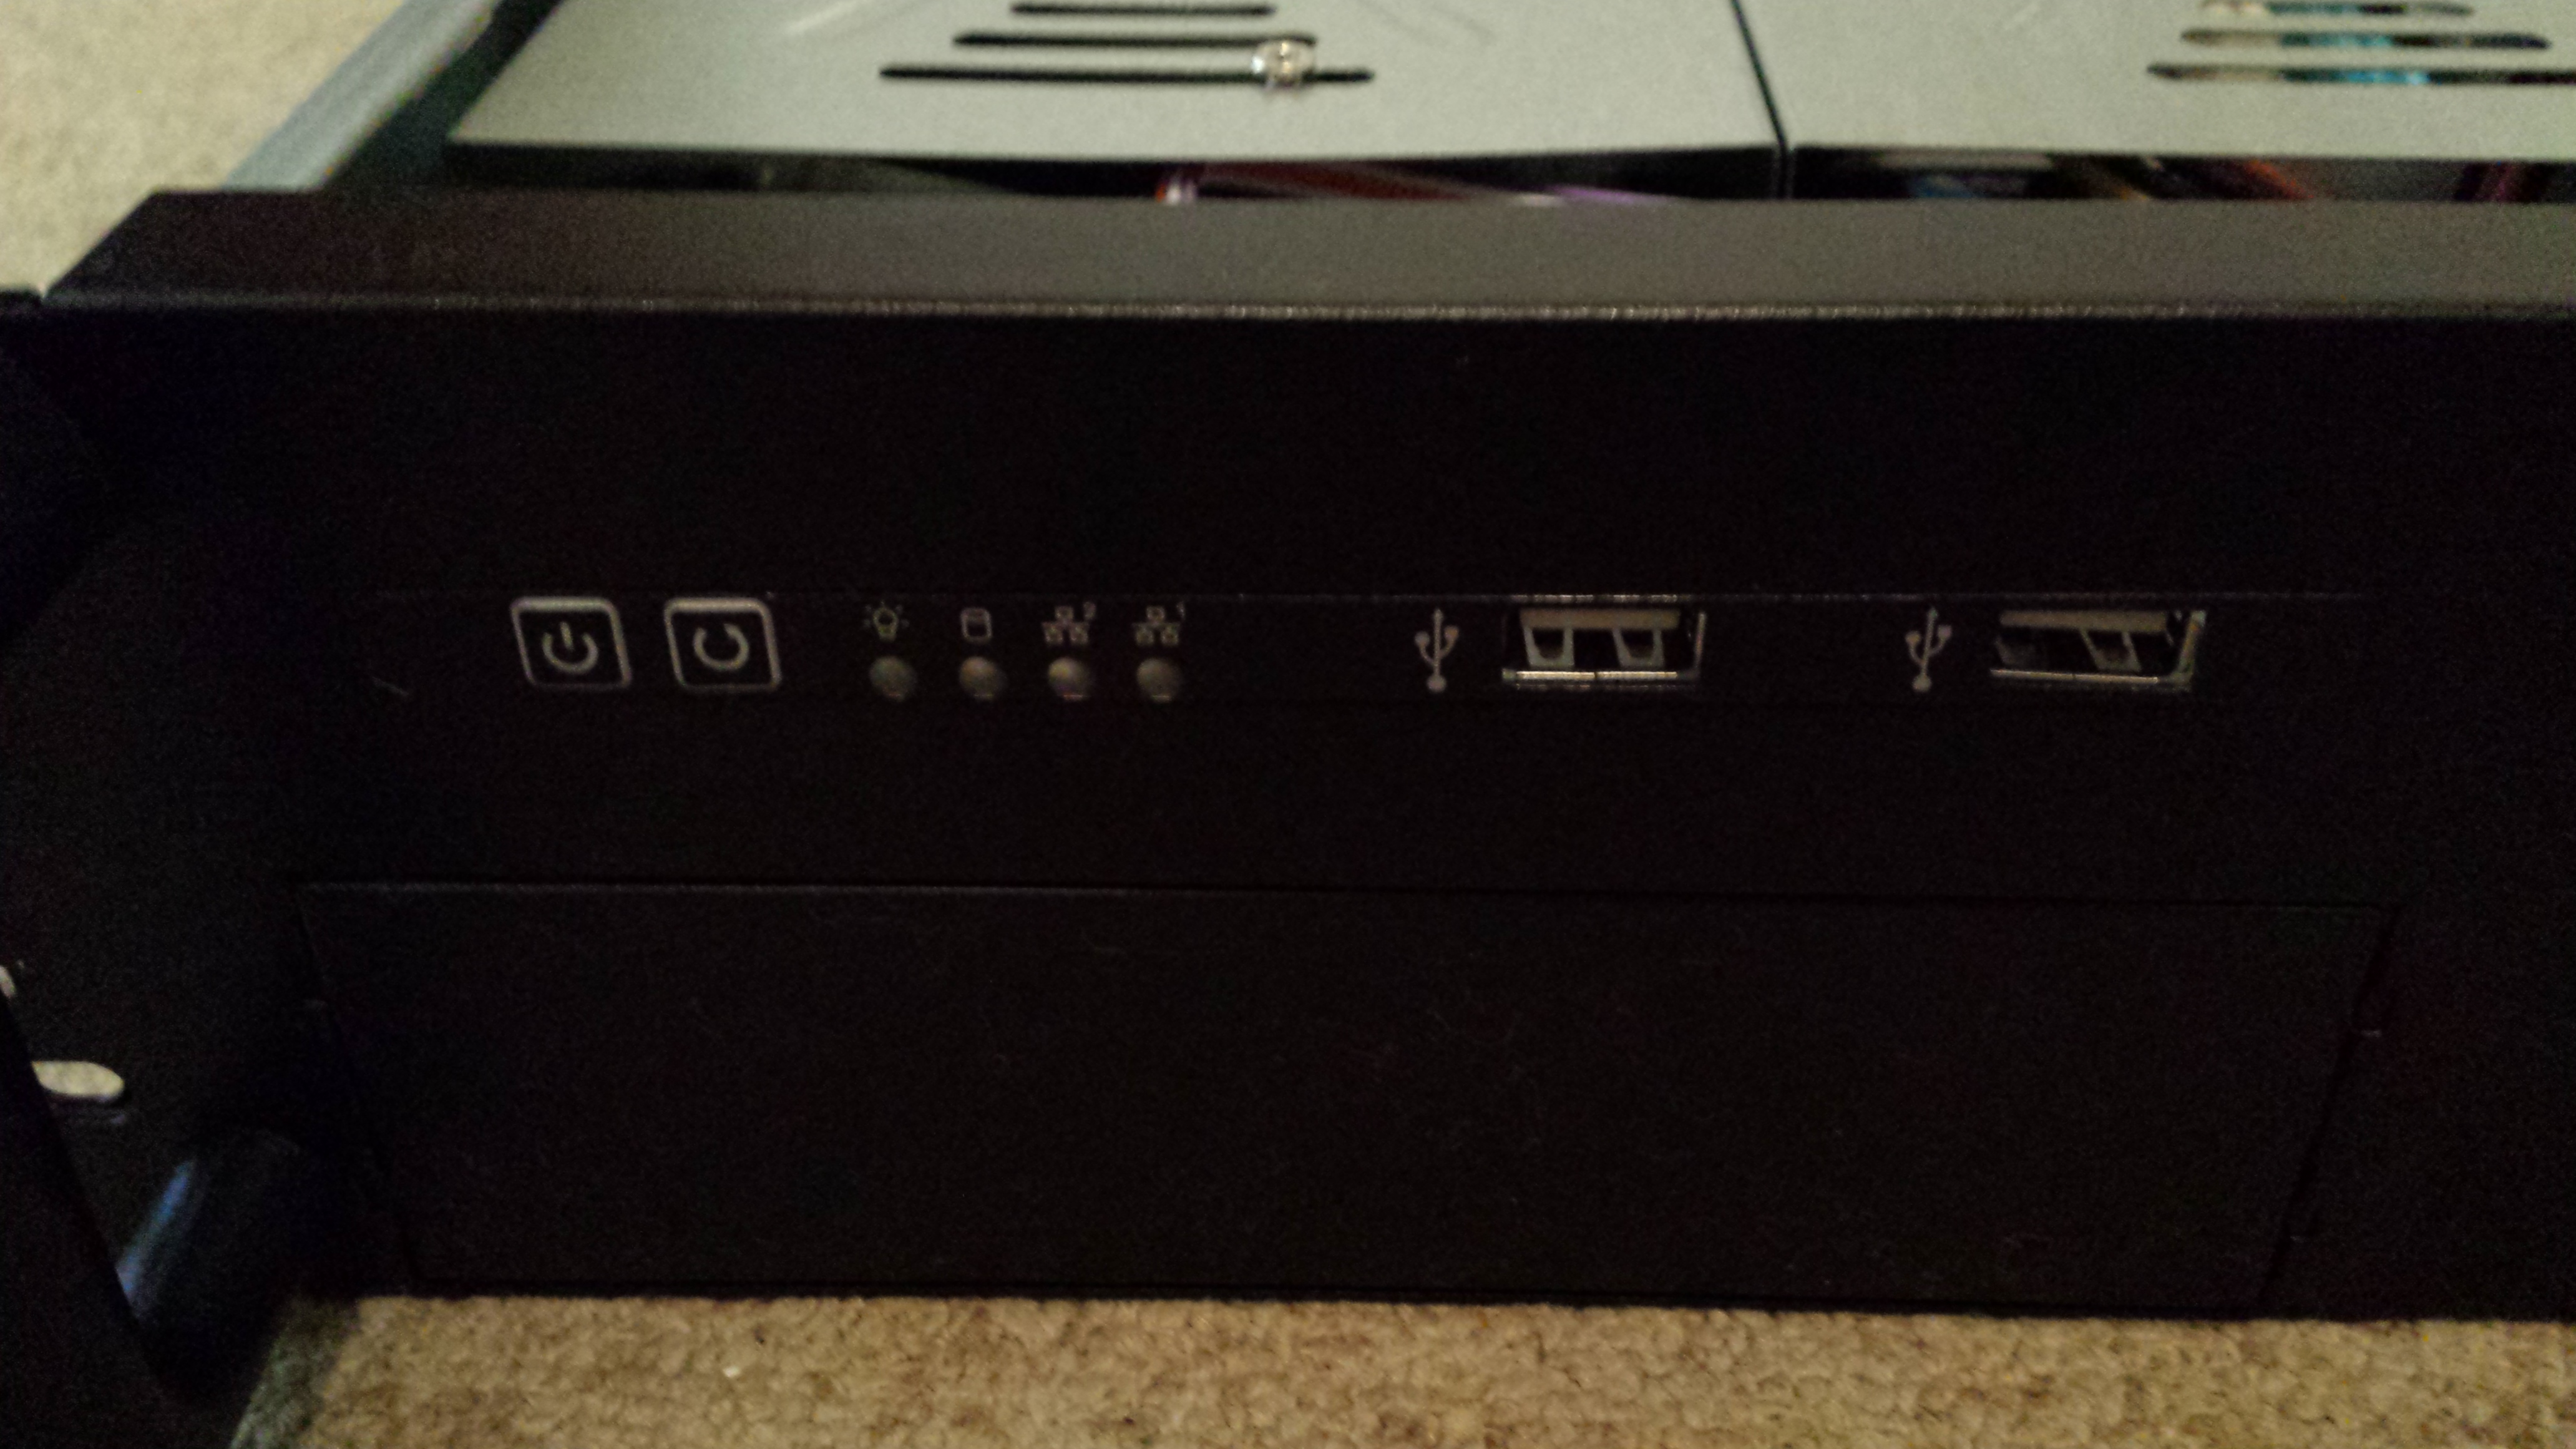
There are two USB ports on the front, the Power and Reset buttons as well as LEDS.
Installation
Even without any manual, the installation is fairly easy. The top panel can be removed by unscrewing 4 four screws on the side. I strongly recommend to remove the 4 drive bays before installing the other components to make some room. Once it is done, the motherboard can be screwed in place. The power supply is attached by four screws on the back panel.
I installed a SSD 2.5" in the leftmost disk bay. I had some issues with this installation as the bays do not have any screws on the side, only on the bottom. They are really not made for anything else than 3.5" drives.
Here is a picture of my installation once finished:
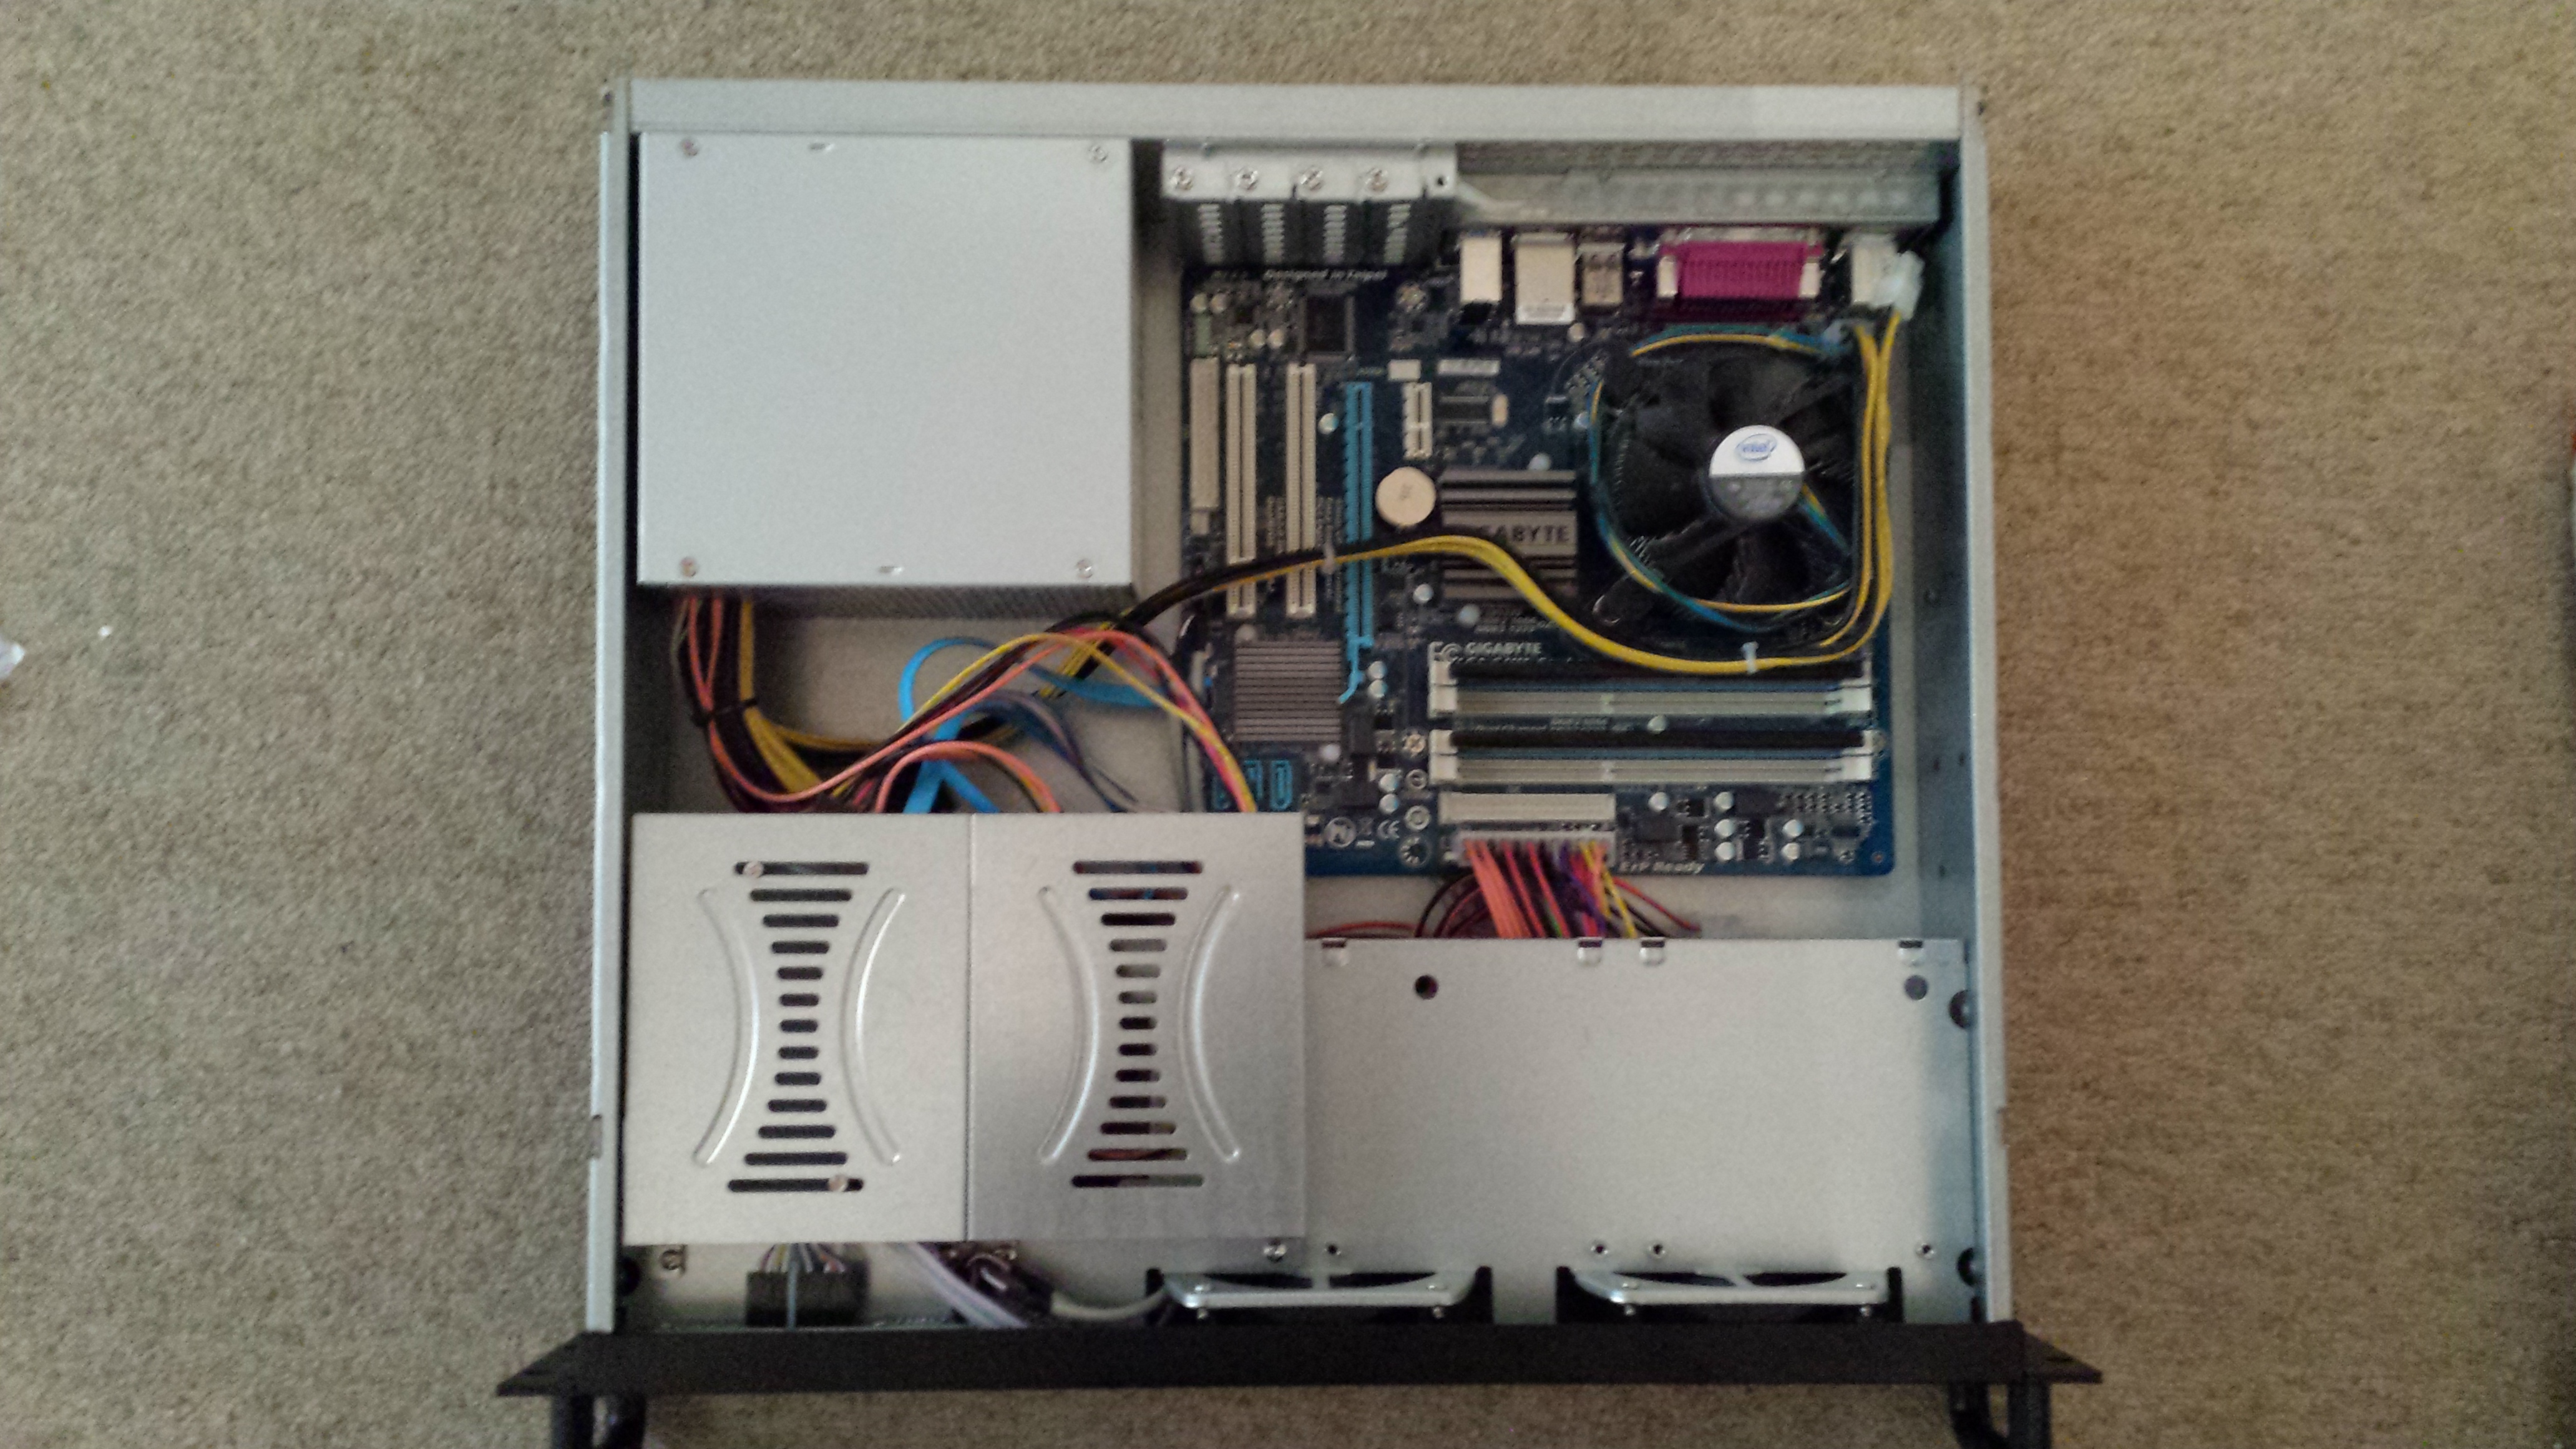
I managed to make it looks nice with the cables, but only because I have not installed any CD-Rom, so I did put a lot of cables in its place.
Once it is done, I have installed it in my rack. It is not straightforward without a manual, but I was able to screw it to the rails. I did put two screws on each side:
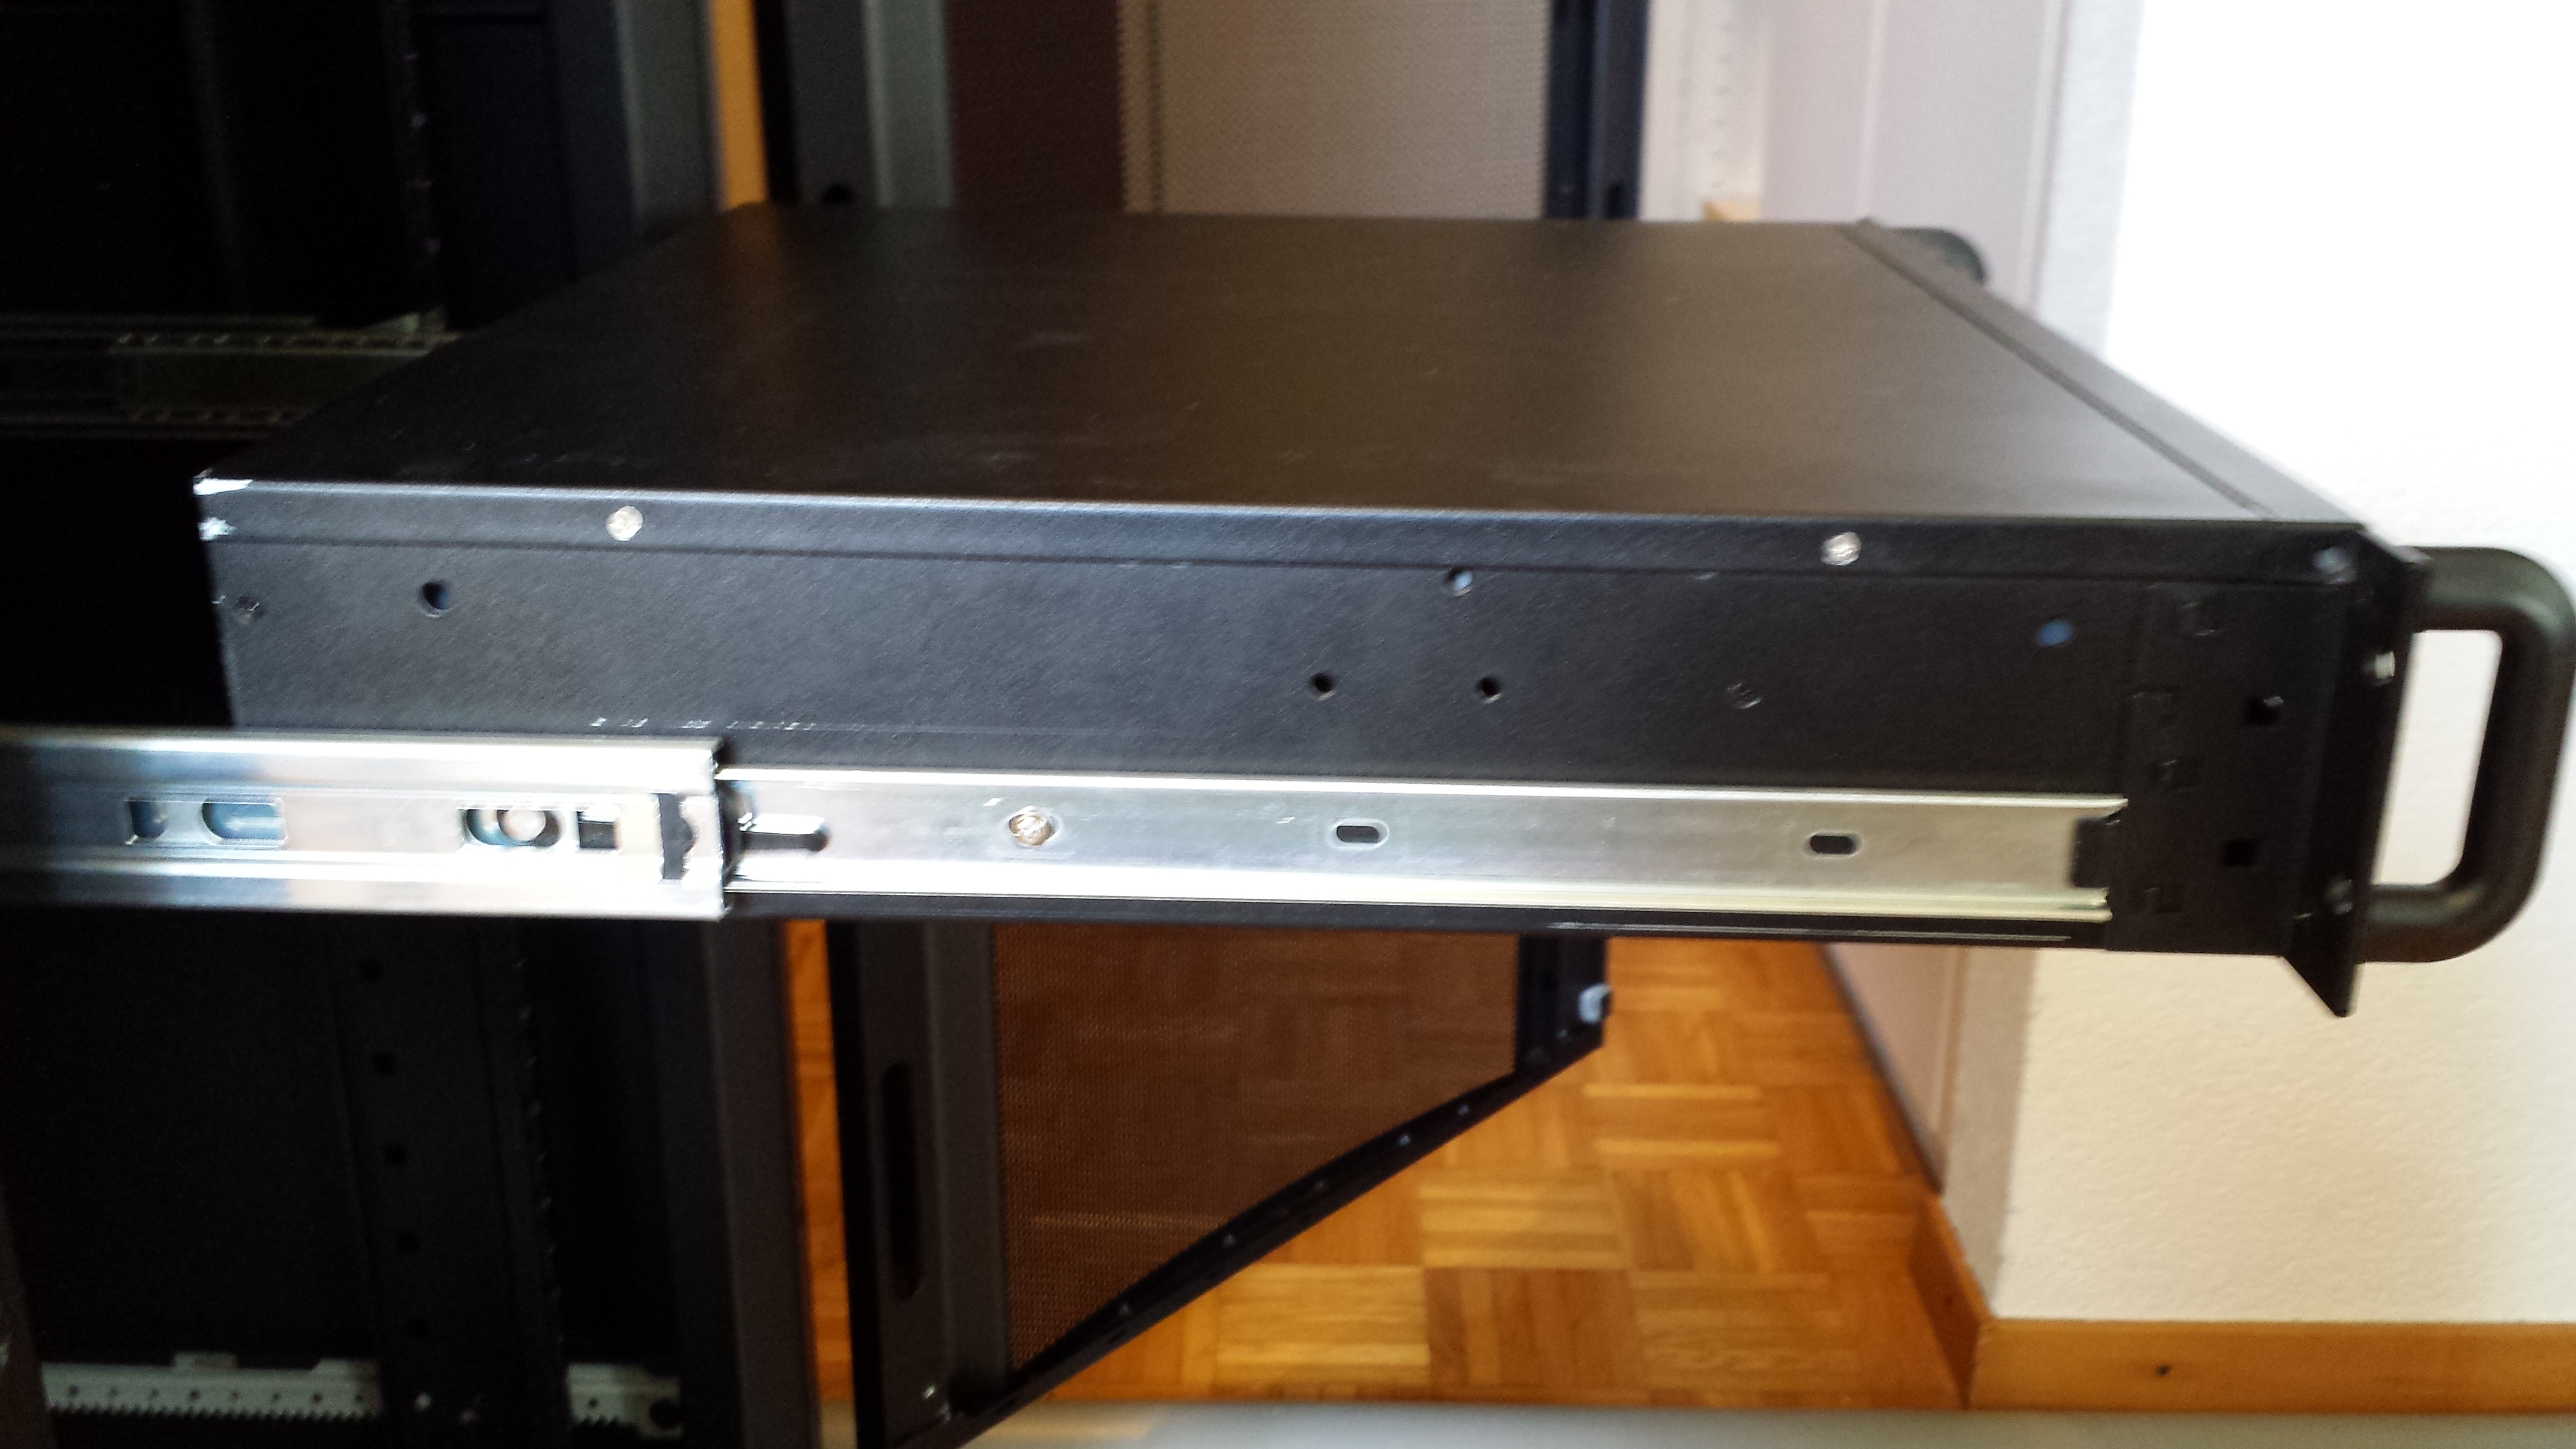
Once in place, it looks quite good:
However, I don't know if I have done something wrong, but the rails are not sliding smoothly, they are blocking at two places and the last part is quite hard to push. Anyway, as I won't be moving it a lot, I think it is ok. You also have to remember that even if it is a short depth case, the RL-26 rails are not short at all, they are not made for short depth racks.
Once it is launched, the server is quite busy due to the two 80mm fans. However, the airflow is quite strong, which is what most customers want. It is still more silent than my Dell server, but not enough for a home experience. I will try to replace them with more silent fans in the future.
Conclusion
Pros
- Enough bays for a simple server
- Support standard formats
- Enough air flow
- Very short depth
- Seems of heavy duty construction
- Looks nice
- Not too expensive
- Should fit in most racks
Cons
- No manuals at all
- Disk bays not very convenient
- The provided power supply is not very adapted to the case.
- The provided rails seems to not slide smoothly
To conclude, I would say that this case is very fit to a custom installation as all the components are standards. I would recommend it for a similar usage than mine.
Comments
Comments powered by Disqus